|
Required Parts: Soldering Iron, Solder, replacement capacitors.
Optional Parts: Glue gun, duct tape, insulated wire, insulator sleeve, lighter/flame, and needle nose pliers.
|
So a few months ago one of my computer monitors started to fail. Every day it would take slightly longer to warm up and turn on. Eventually it started taking up to 15 minutes or so to warm up before it finally failed completely. What causes this is that one or more of electrolytic capacitors inside the monitor is corroding and starting to fail.
The unfortunate thing is that even though capacitors cost almost nothing, when this failure takes place most people are forced to replace the entire monitor at a cost of several hundred dollars. So I thought I would show you how I fixed my monitor for $3.50 in both parts and shipping.
When your monitor has failed, step one is taking it apart and figuring out which part (or parts) has failed. For this problem we had several very powerful clues. The delay in turning on indicates a capacitor issue. When they fail slowly like this it is generally due to corrosion which is actually easily visible to the naked eye. As the corrosion progresses capacitors start to bulge out and show signs of rust.
|
|
|
|
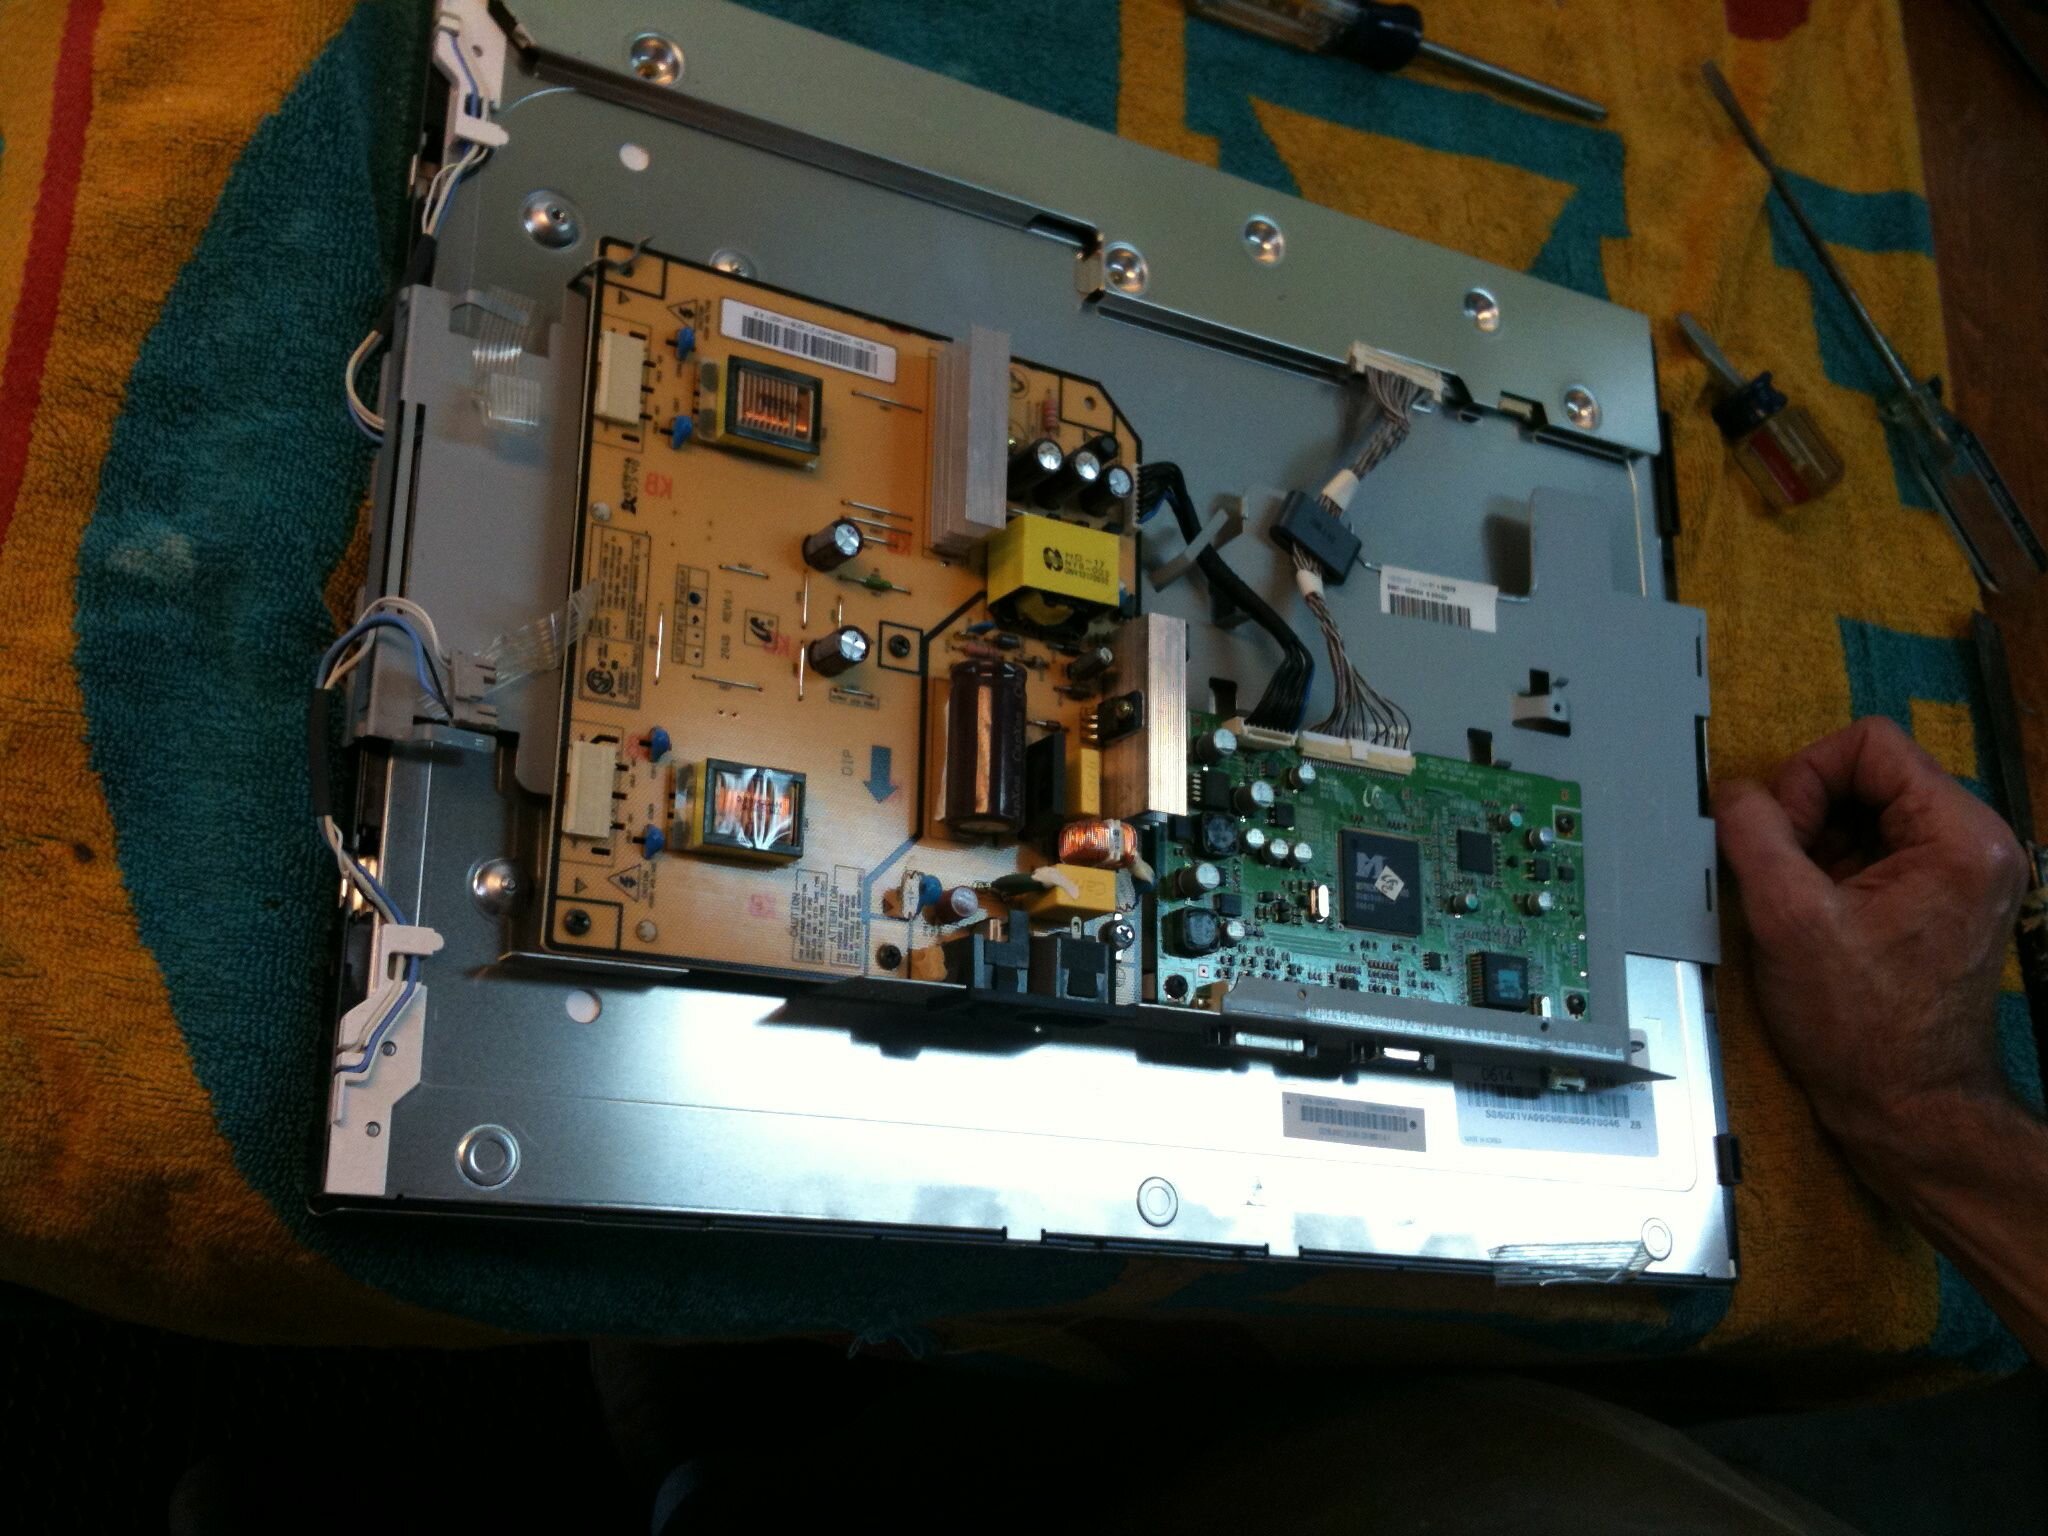
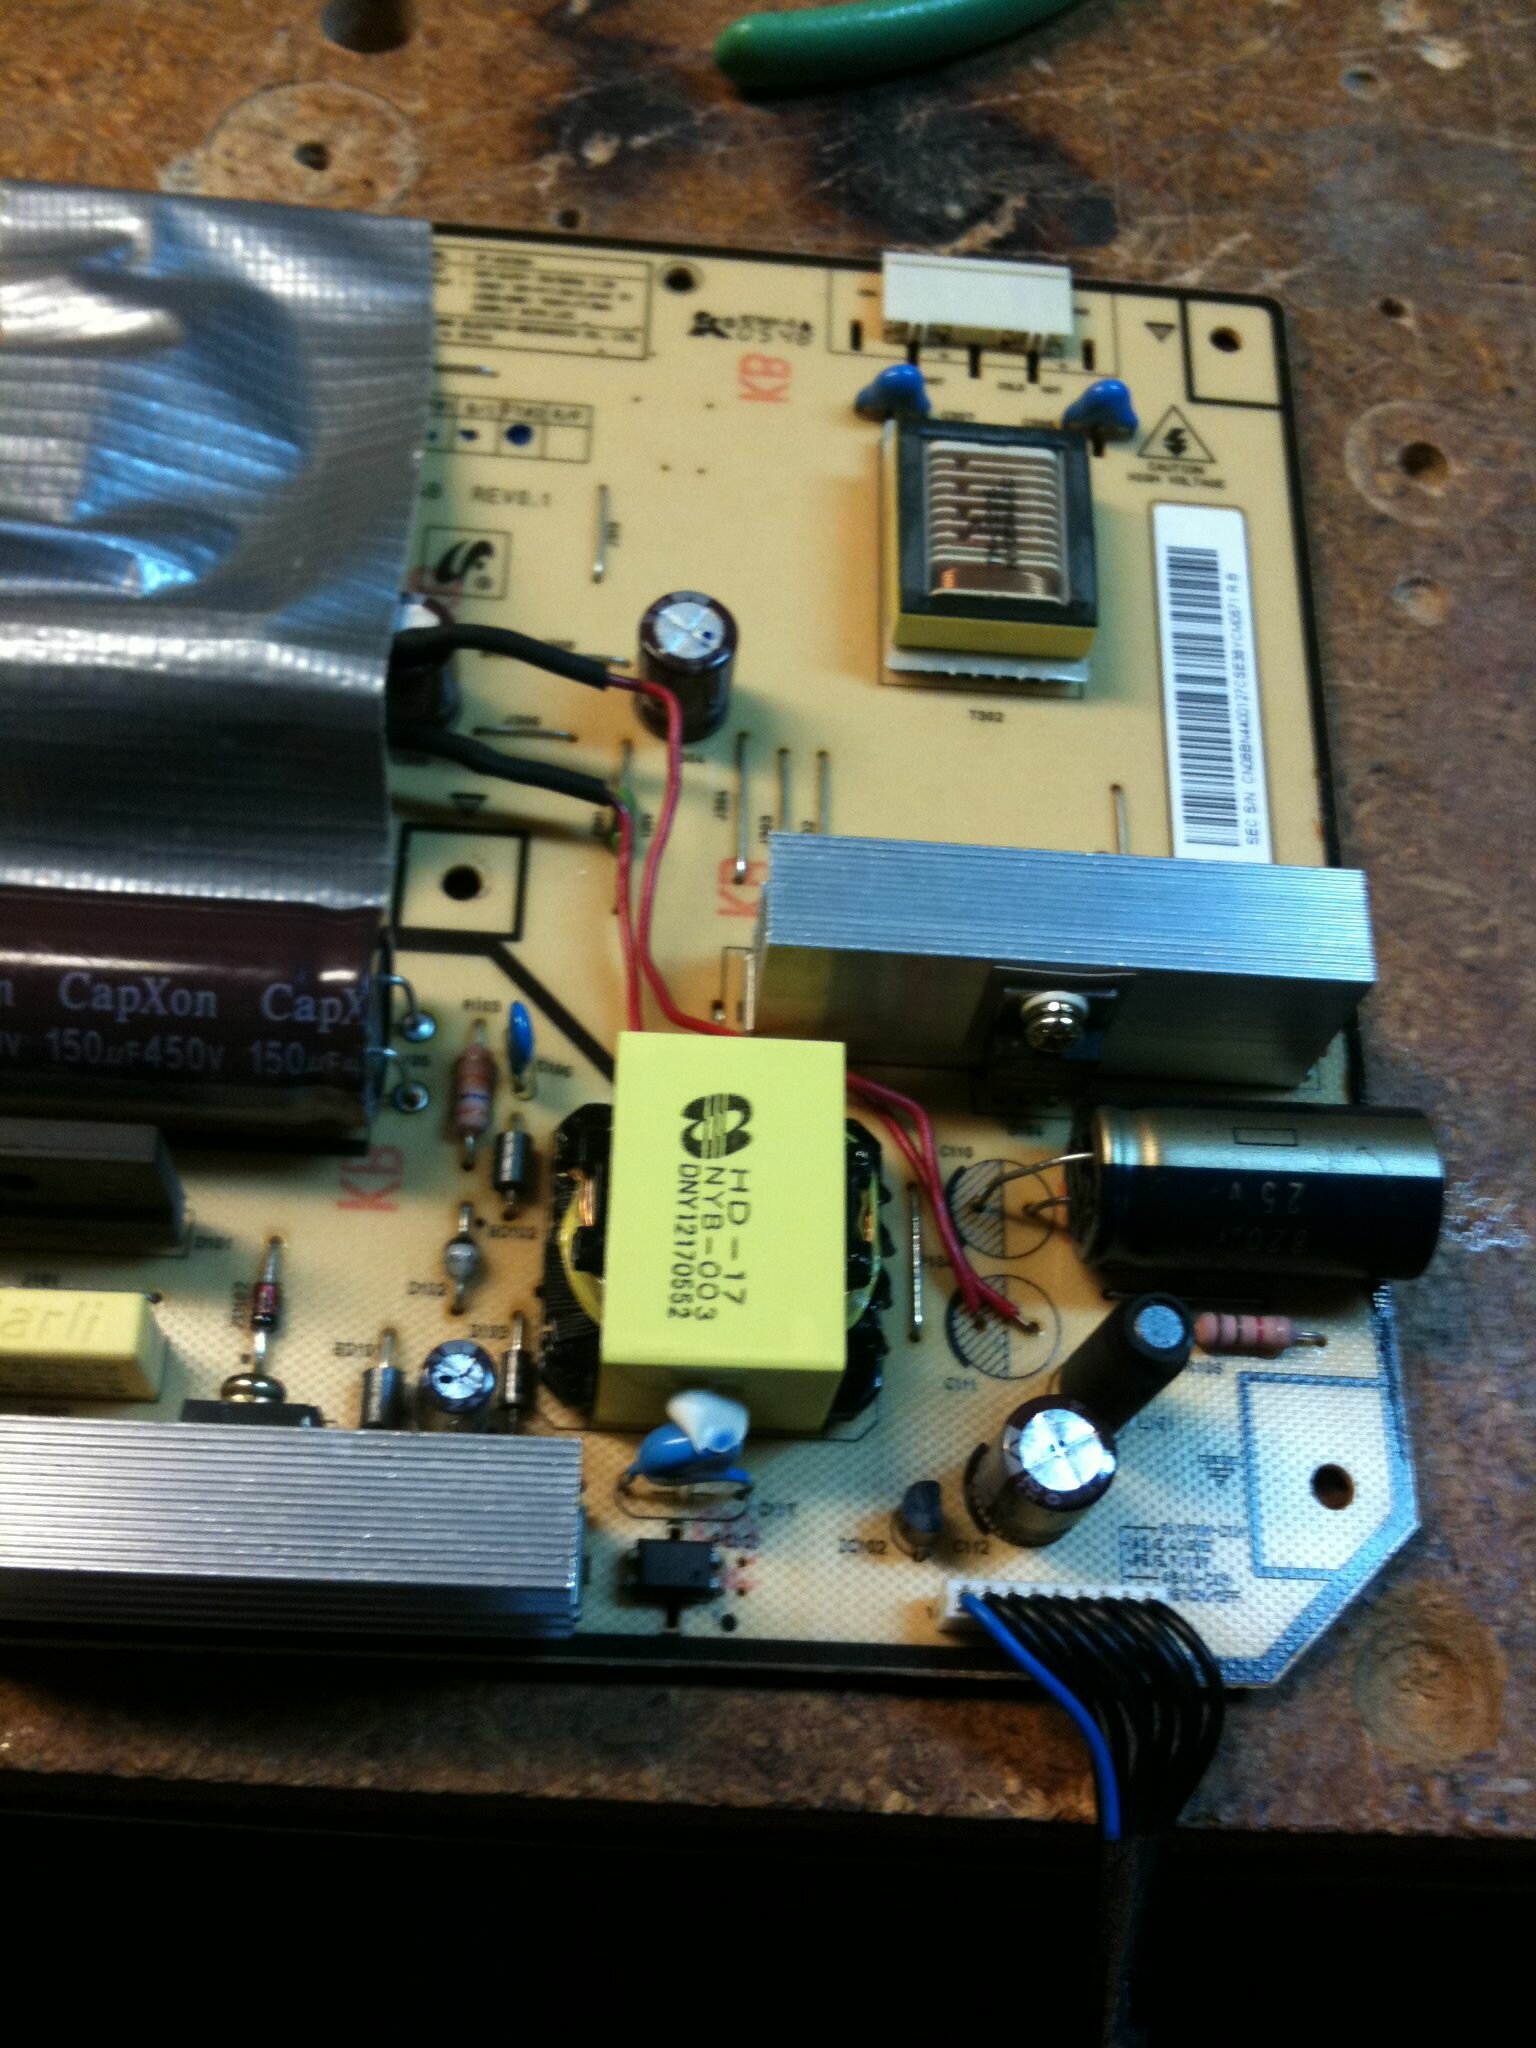
The back of the monitor with the casing removed
|
|
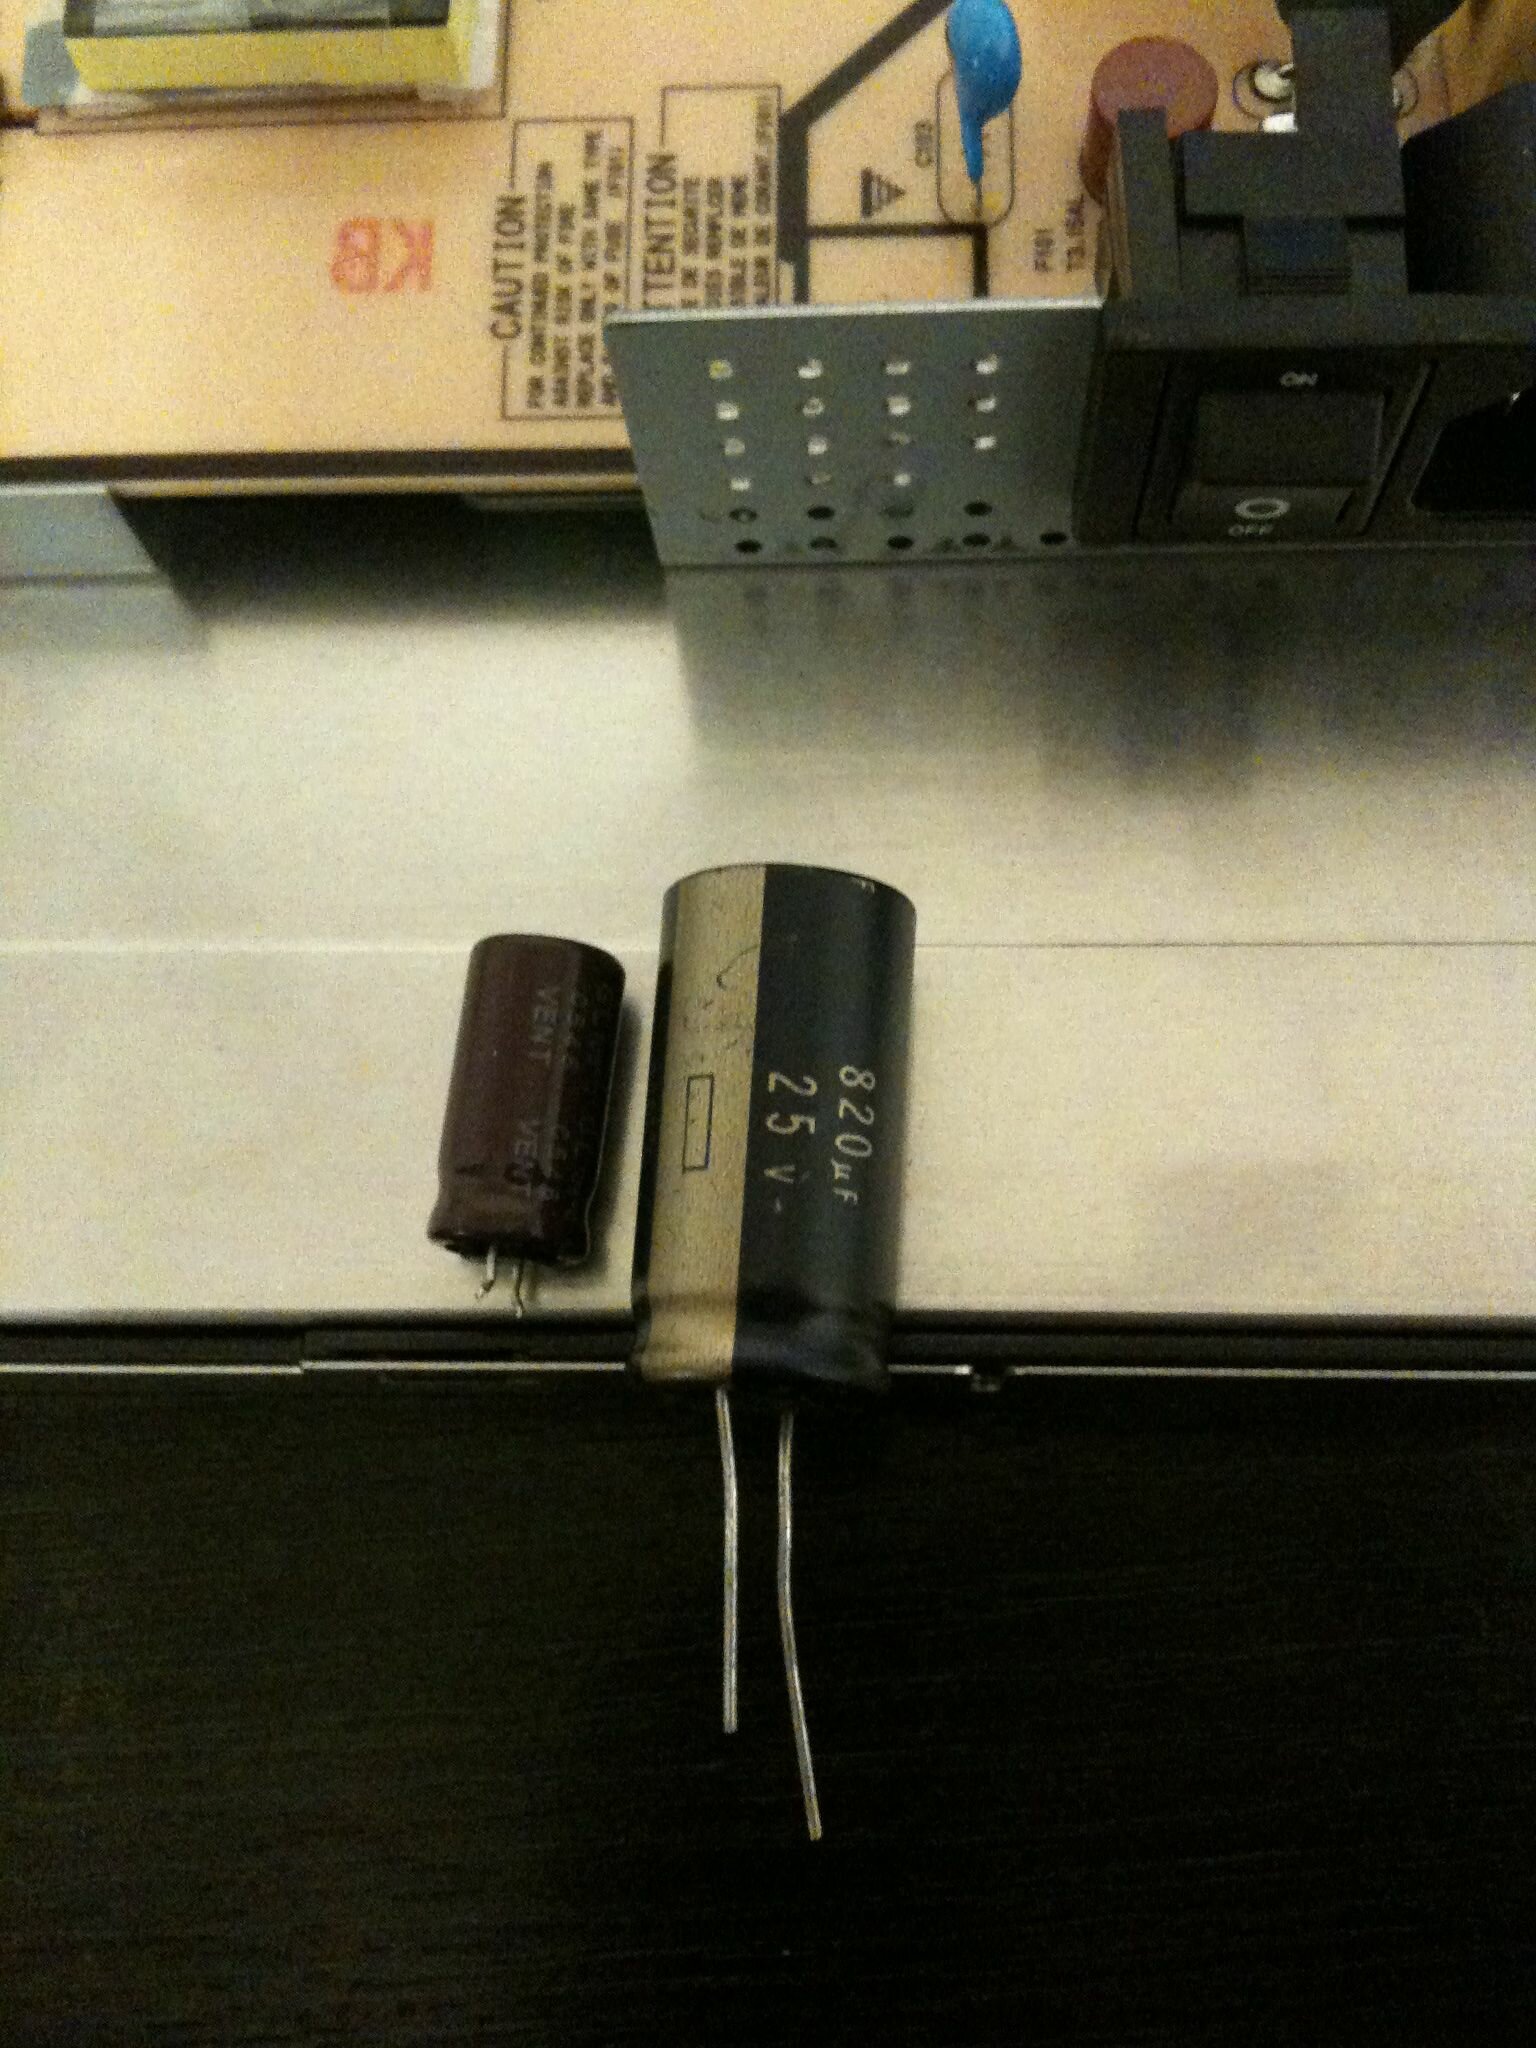
In this case, two capacitors had failed. This is easily seen with the bulges and corrosion on the top of the components. The technical specs of the capacitors are listed on their side - in this case 820uF, 25v. Removing the parts was a fairly simple matter. Applying a soldering iron to the connections on the back of the circuit board for a few seconds, and they come right off. A quick search of ebay showed that I could have the parts purchased and shipped for only $3.50.
|
|
|
|
A close up look at the 2 failed capacitors and a healthy one.
|
|
A few days later the parts arrived. However, there was a bit of an issue. While the photo on ebay seemed to show the parts were identical, the new parts were quite a bit larger than the old parts they were replacing. This was a problem as they simply would not fit next to each other on the board as the old parts had.
|
|
|
|
A slight problem with scale - old part on left, new on right.
|
|
So this required a bit of jerry rigging . One of the parts had to be placed at a distance and connected to the slot with wires, while the other had to be placed on its side in the original position rather than vertical. This wasn't a terrible complication, however, it did require some additional soldering and the application of duct tape and a glue gun to hold everything in place.
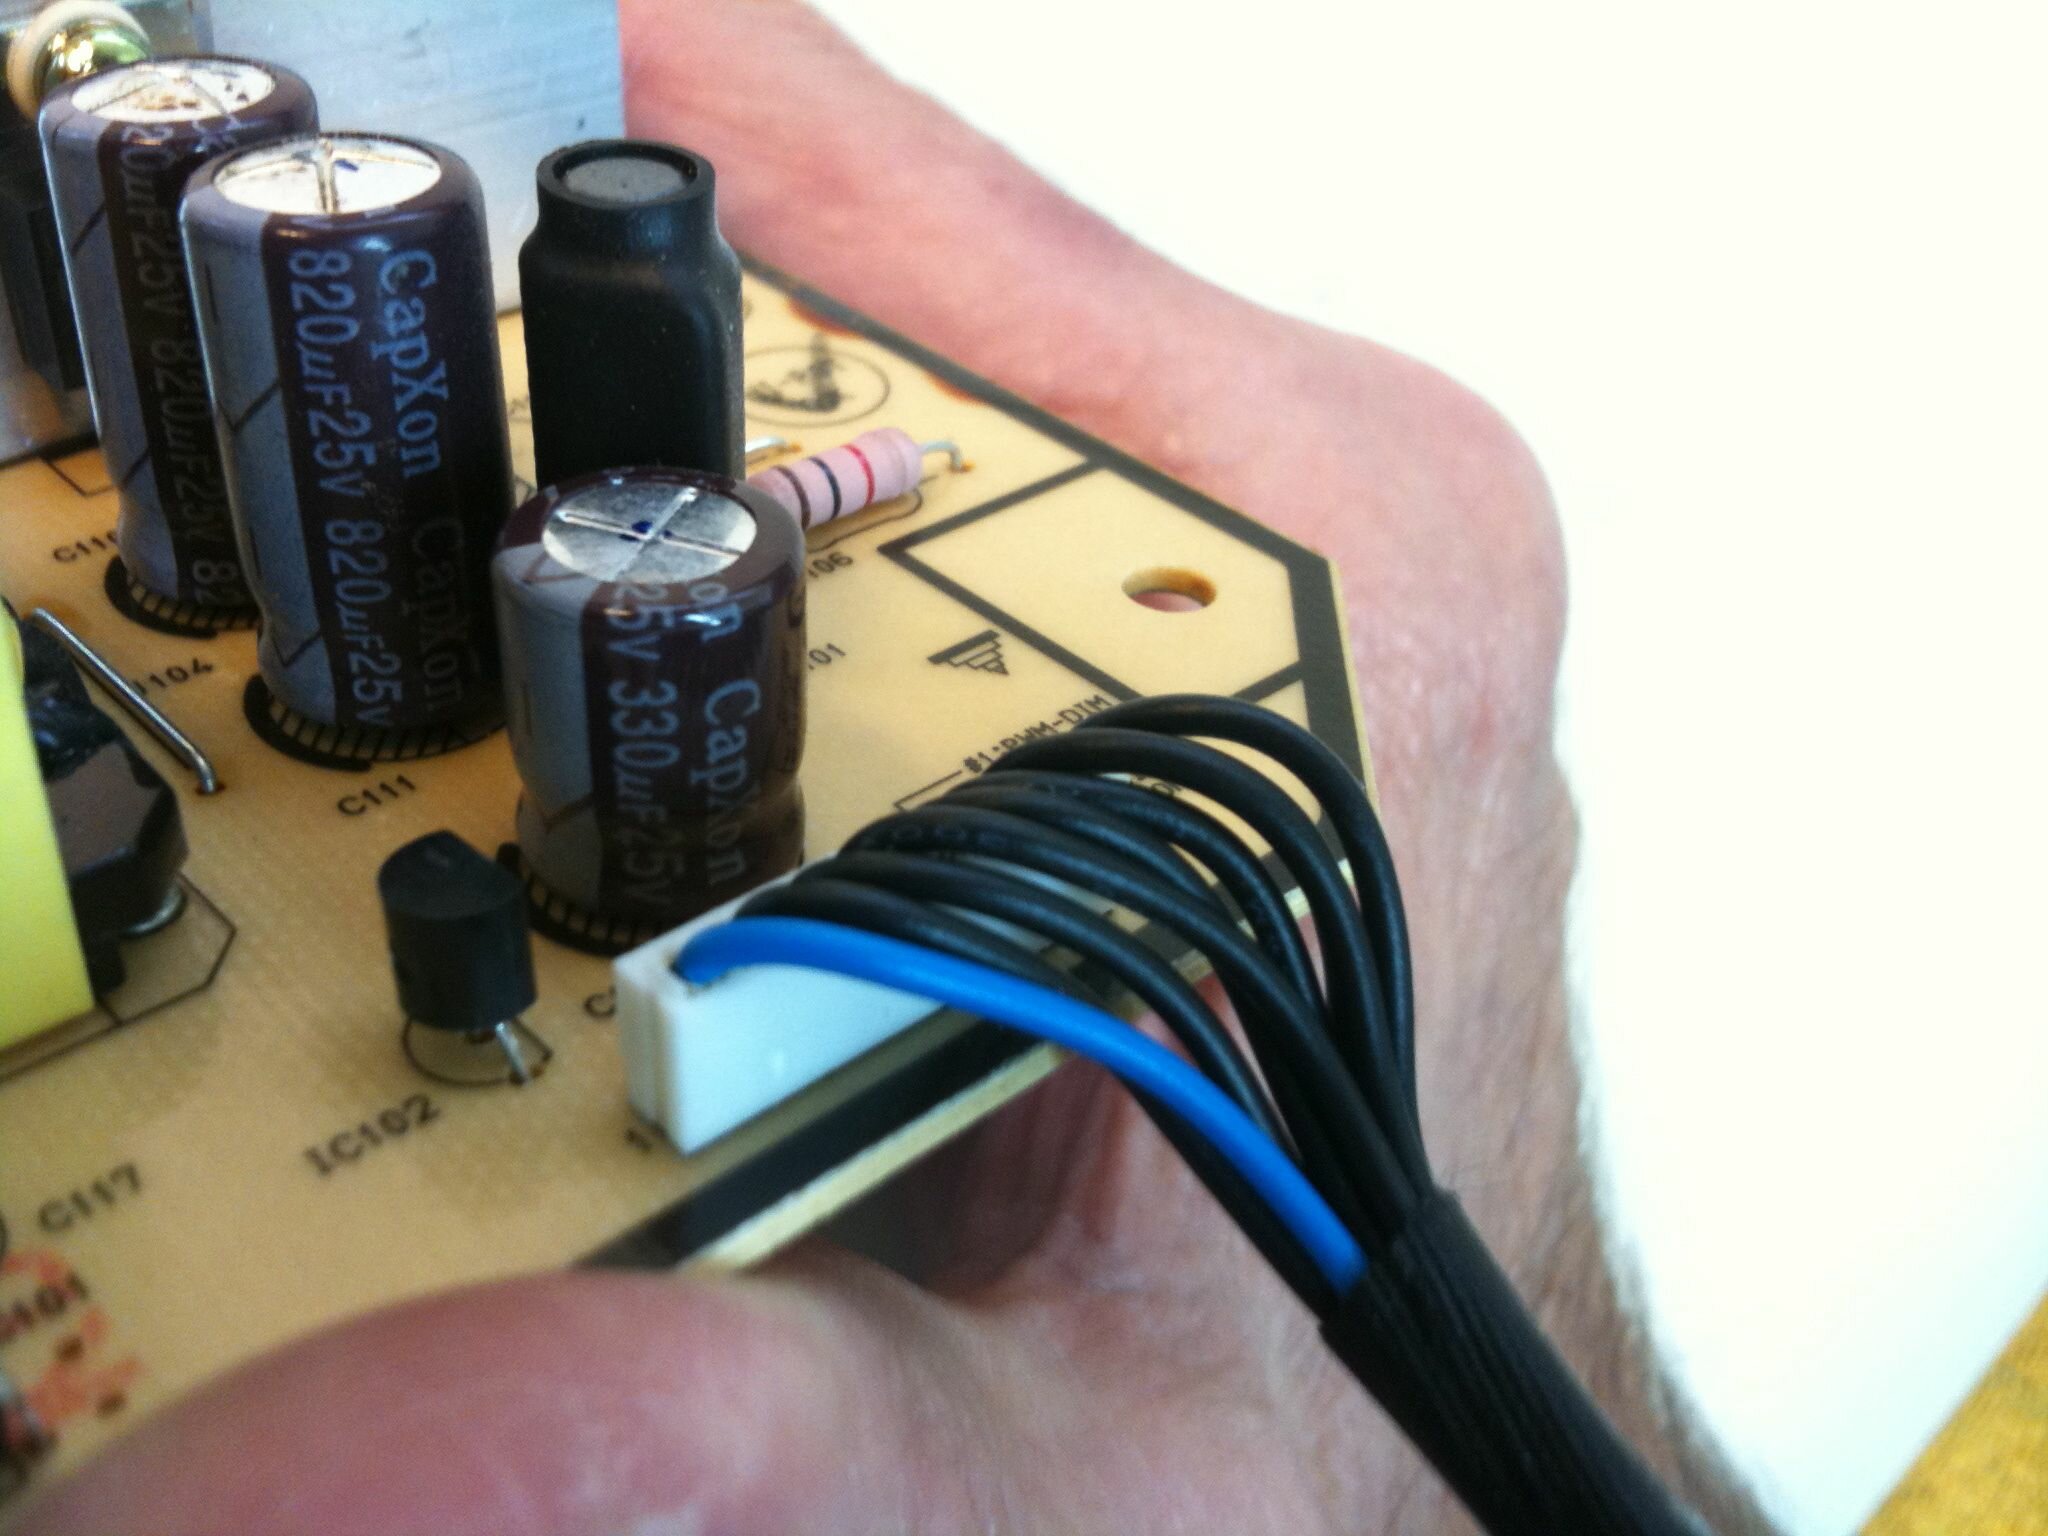
To properly attach wires to a capacitor what you need to do is create a mechanical connection, and then apply solder to it. So taking pliers, we bent both the capacitor and wire ends into hooks, hooked them, then mashed the hooks together with the pliers, and then applied solder to ensure a proper connection. After this, we covered this connection with the insulator sleeve, and shrank it down to size with the lighter.
|
|
|
|
No kludge is complete without duct tape.
|
|
If you are doing this, you will want to make sure you have a very good idea of which of the two wires is positive, and which is negative. In this case, the new parts had longer positive wires and shorter negative ones, in addition to being marked on the capacitor as to which side was negative. The circuit board itself also had the negative side shaded. You will want to check your own board to ensure that all the right connections are being made. If you cross the wires and turn it on, you may end up having to buy a new monitor after all.
Once all the wires were placed and the parts held together, the board was flipped over and the connections soldered. After all the build up in getting the parts ordered and shipped, the 2 minutes this took was oddly simple and anti-climactic.
|
|
|
|
The wires placed and ready for soldering.
|
|
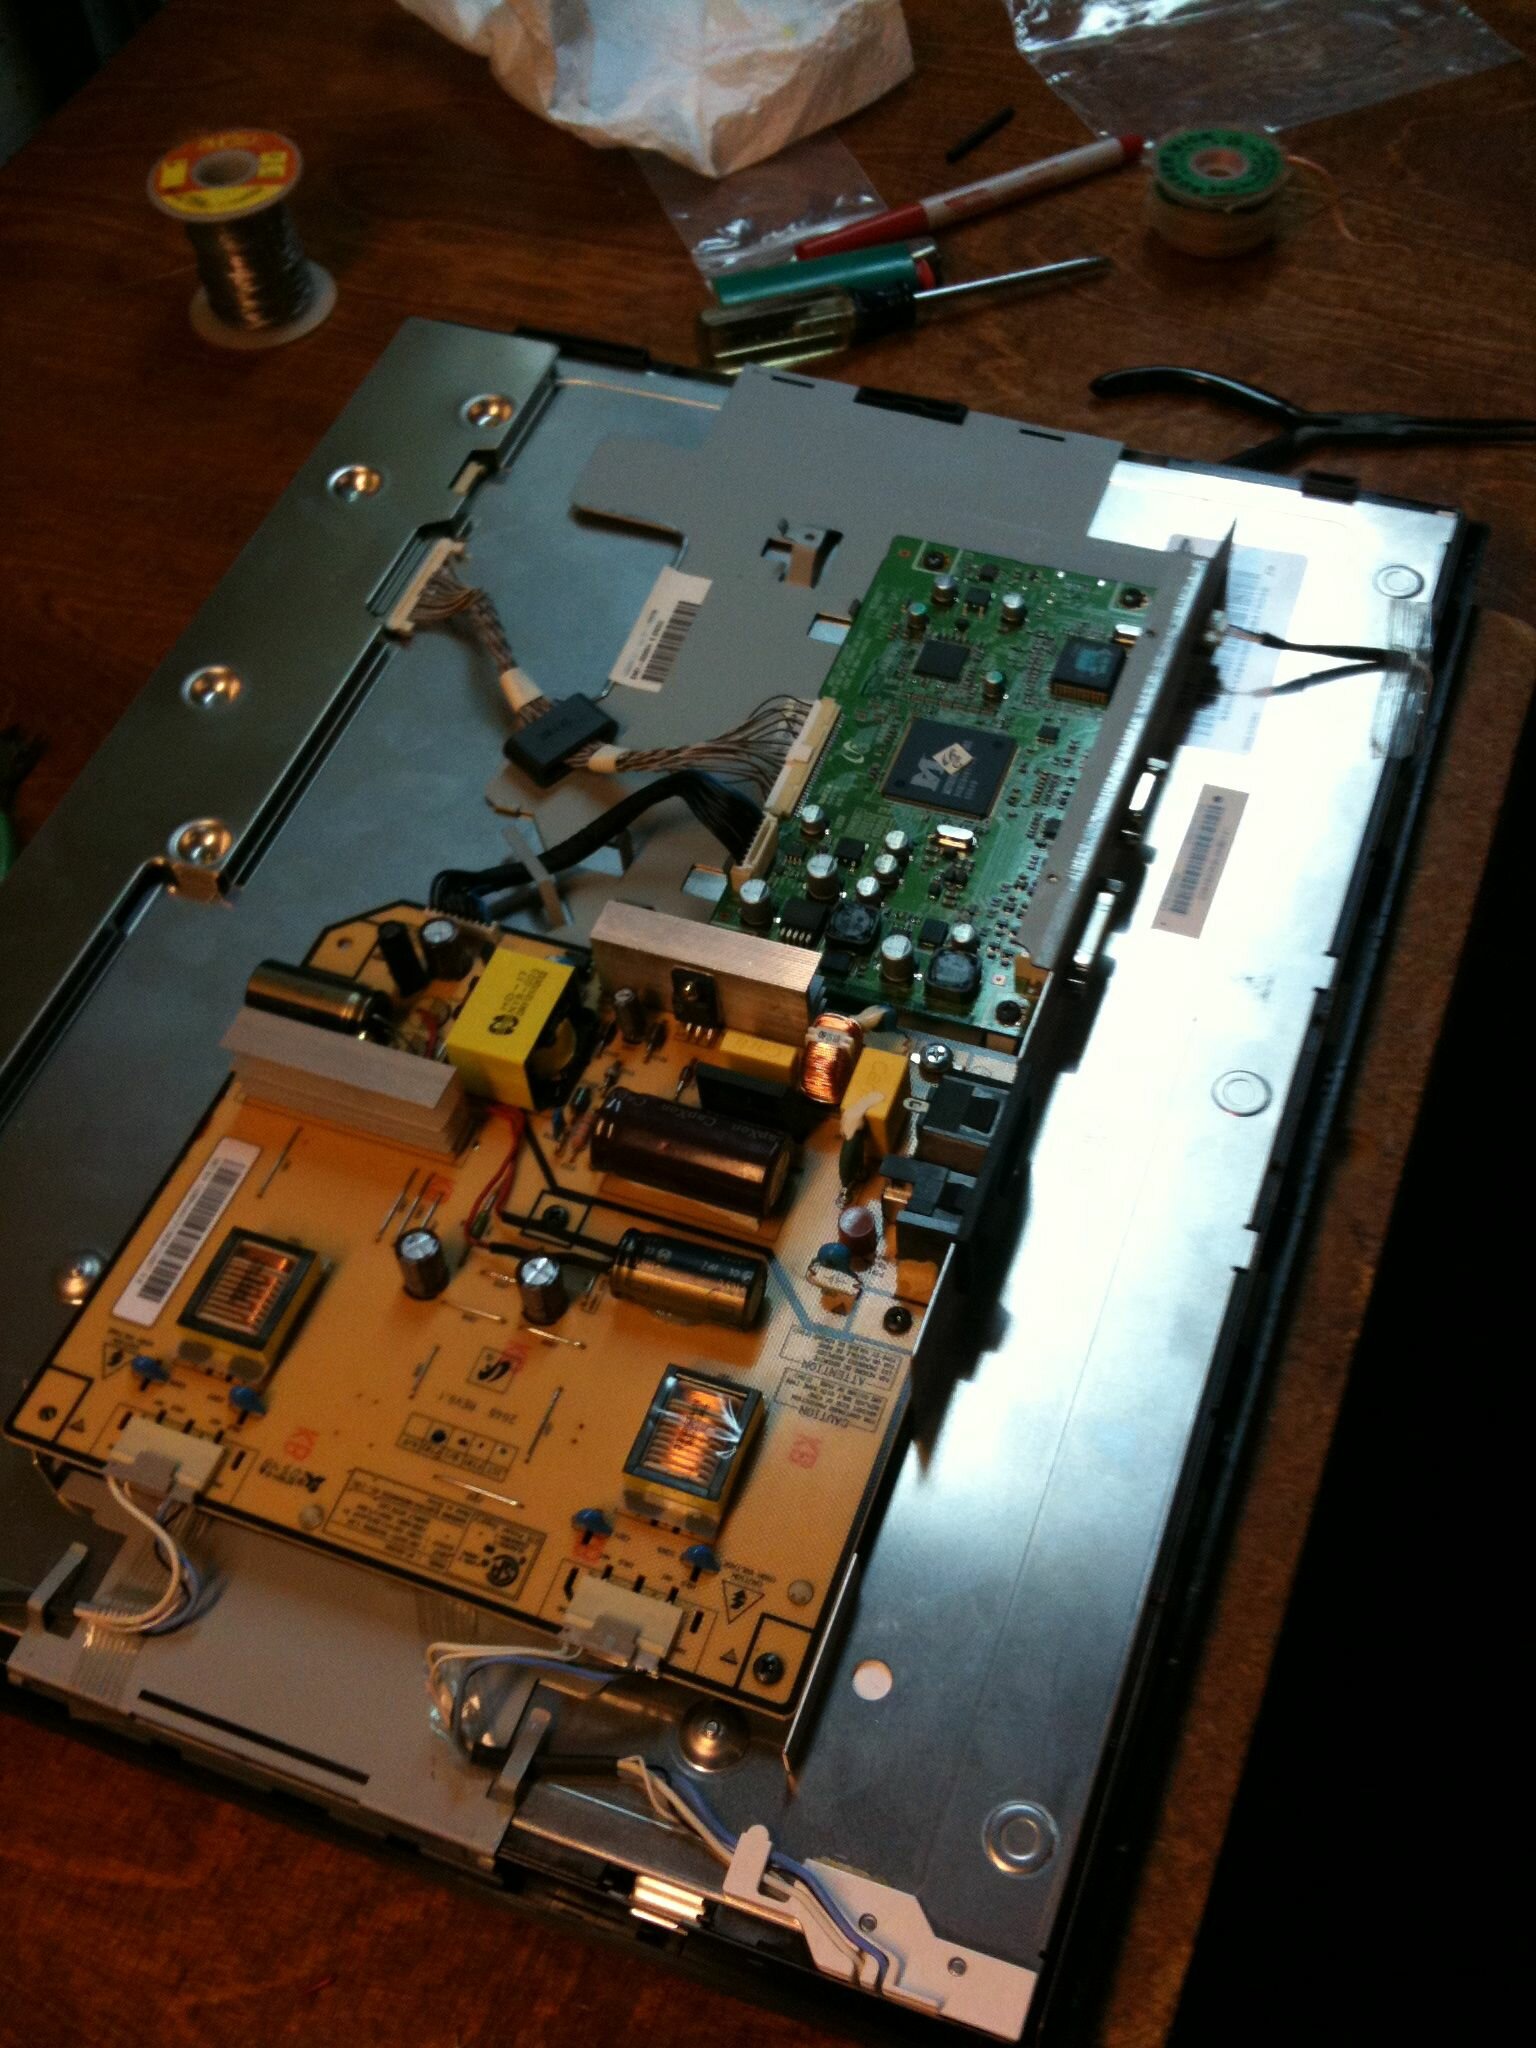
After the connections were made, the board was returned to its mountings, screwed in, wires reconnected, and plastic casing was snapped back on. Plugging in a few computer cables and a power cord and presto! A perfectly working monitor that turns on instantly when powered up! If you have all the parts, the entire operation could be completed in under 30 minutes.
|
|
|
|
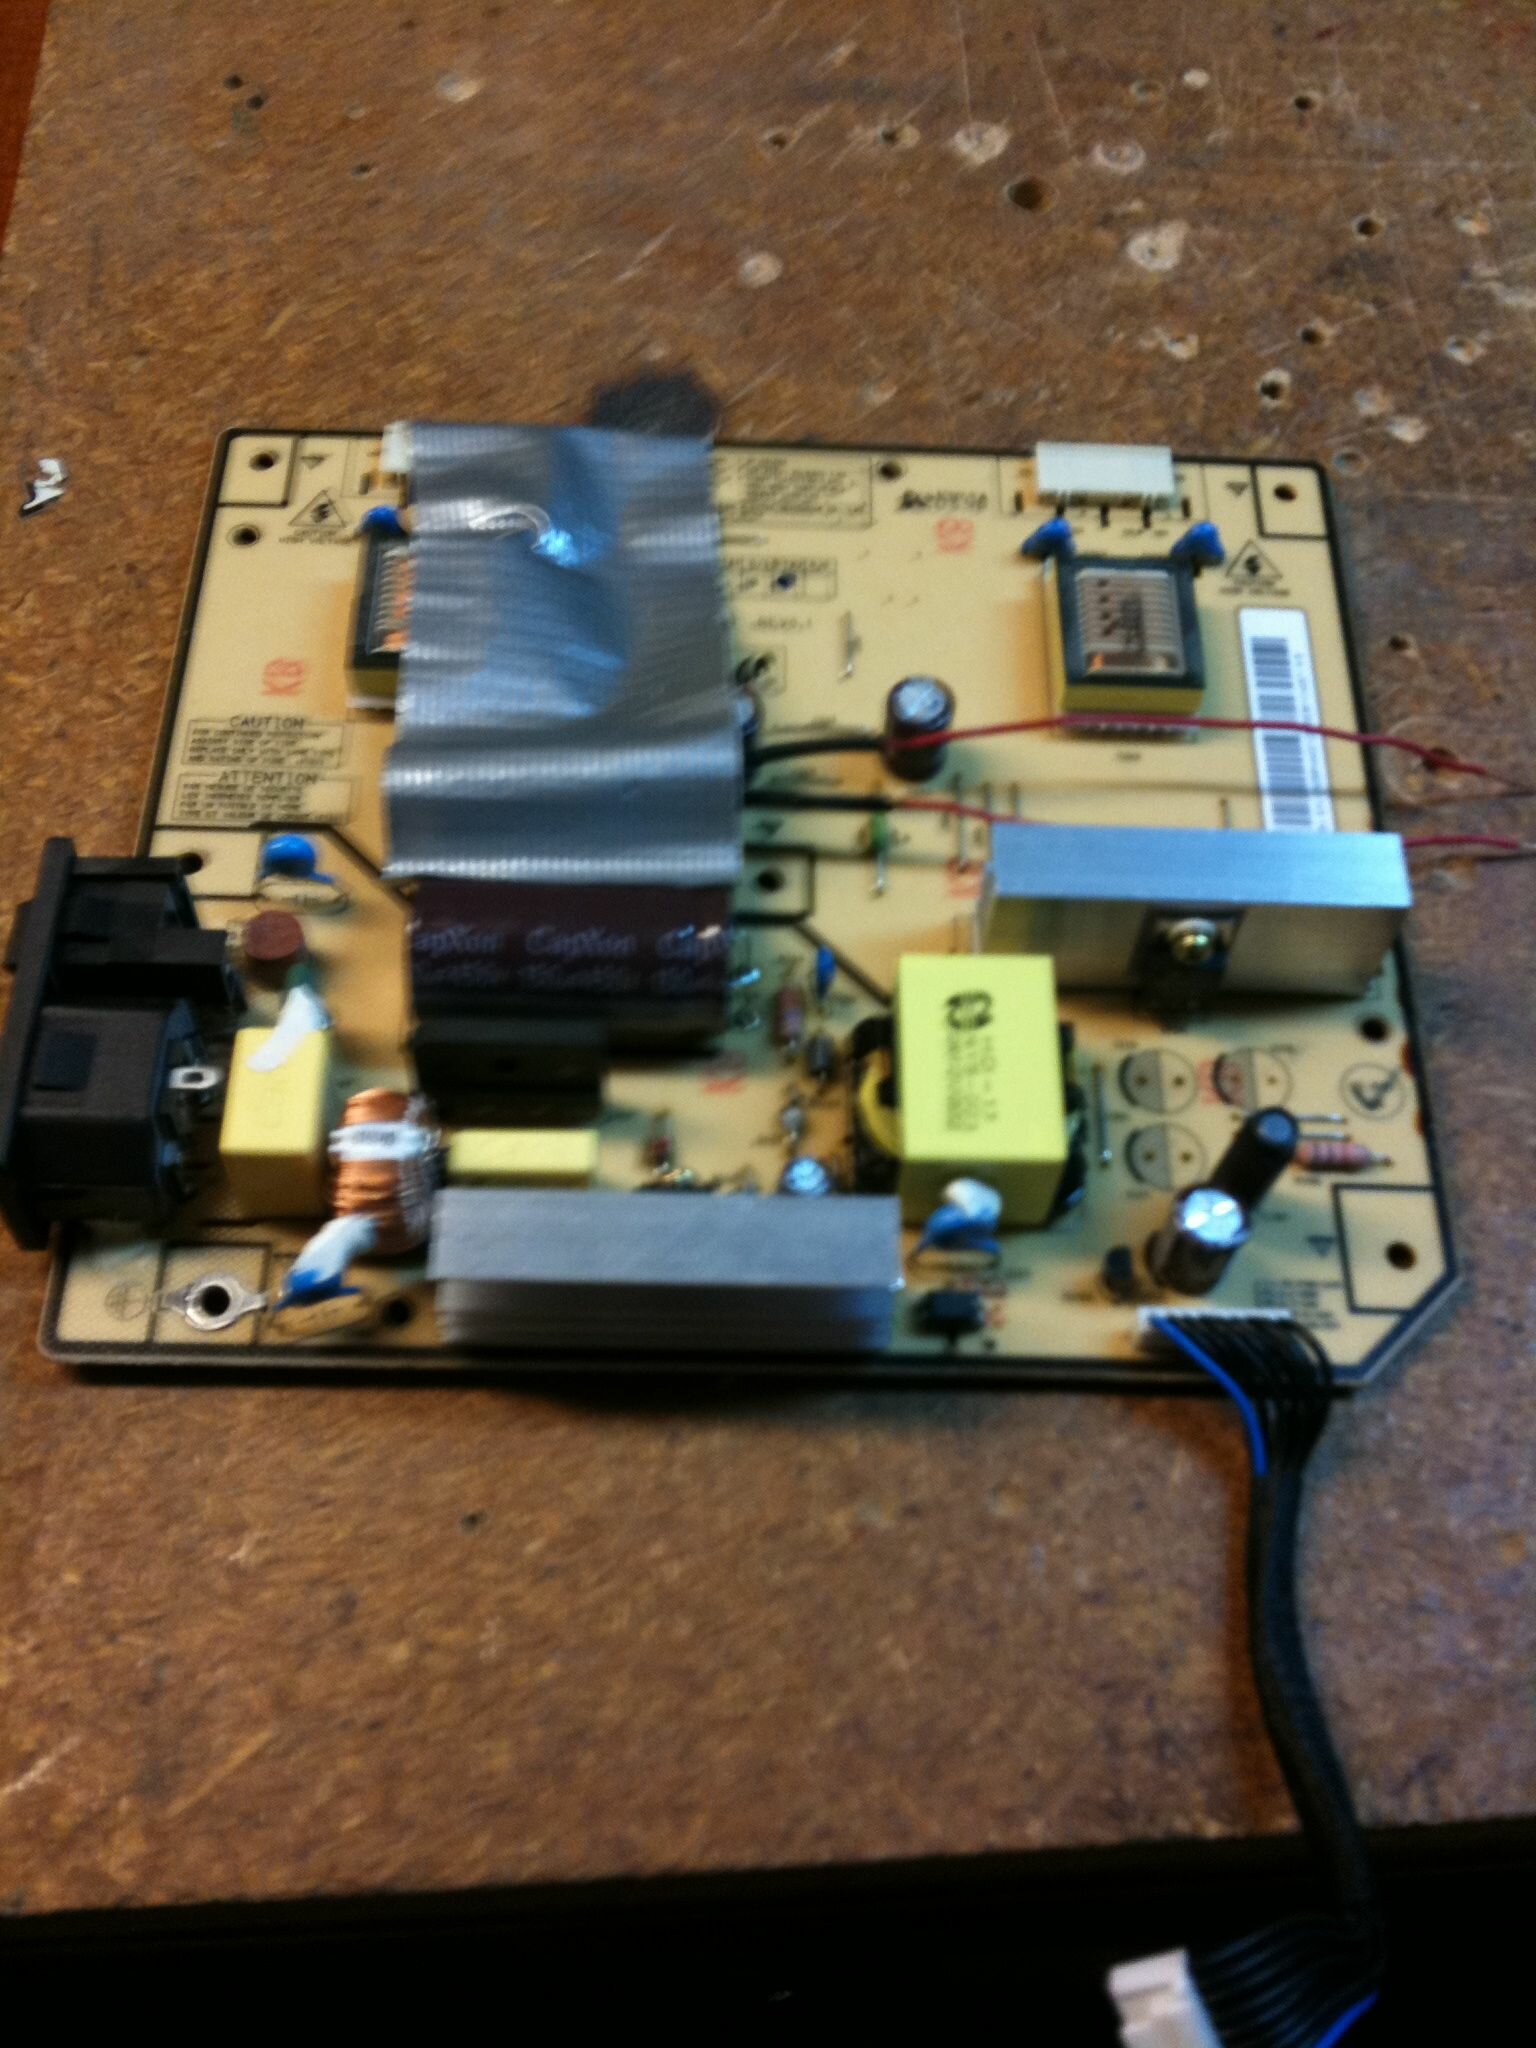
The replacement completed and ready for final assembly.
|
|
The best part of the whole ordeal? When I was creating the ebay account, I discovered $205 in paypal I had entirely forgotten about. So, in a sense, not only did I NOT have to purchase a brand new monitor for $250-$300, but I basically paid myself $200 in the process of fixing the old one.
So that is how you fix a flat panel and save yourself 300 bucks! It is a real shame to throw out several hundred dollars worth of electronics due to a failed 50 cent part. Of course, when faced with operating on a broken piece of equipment like this the worst case is you have to buy a new one - which you would have to do anyway. The best case is you save yourself a huge wad of cash.
|
|
|
|
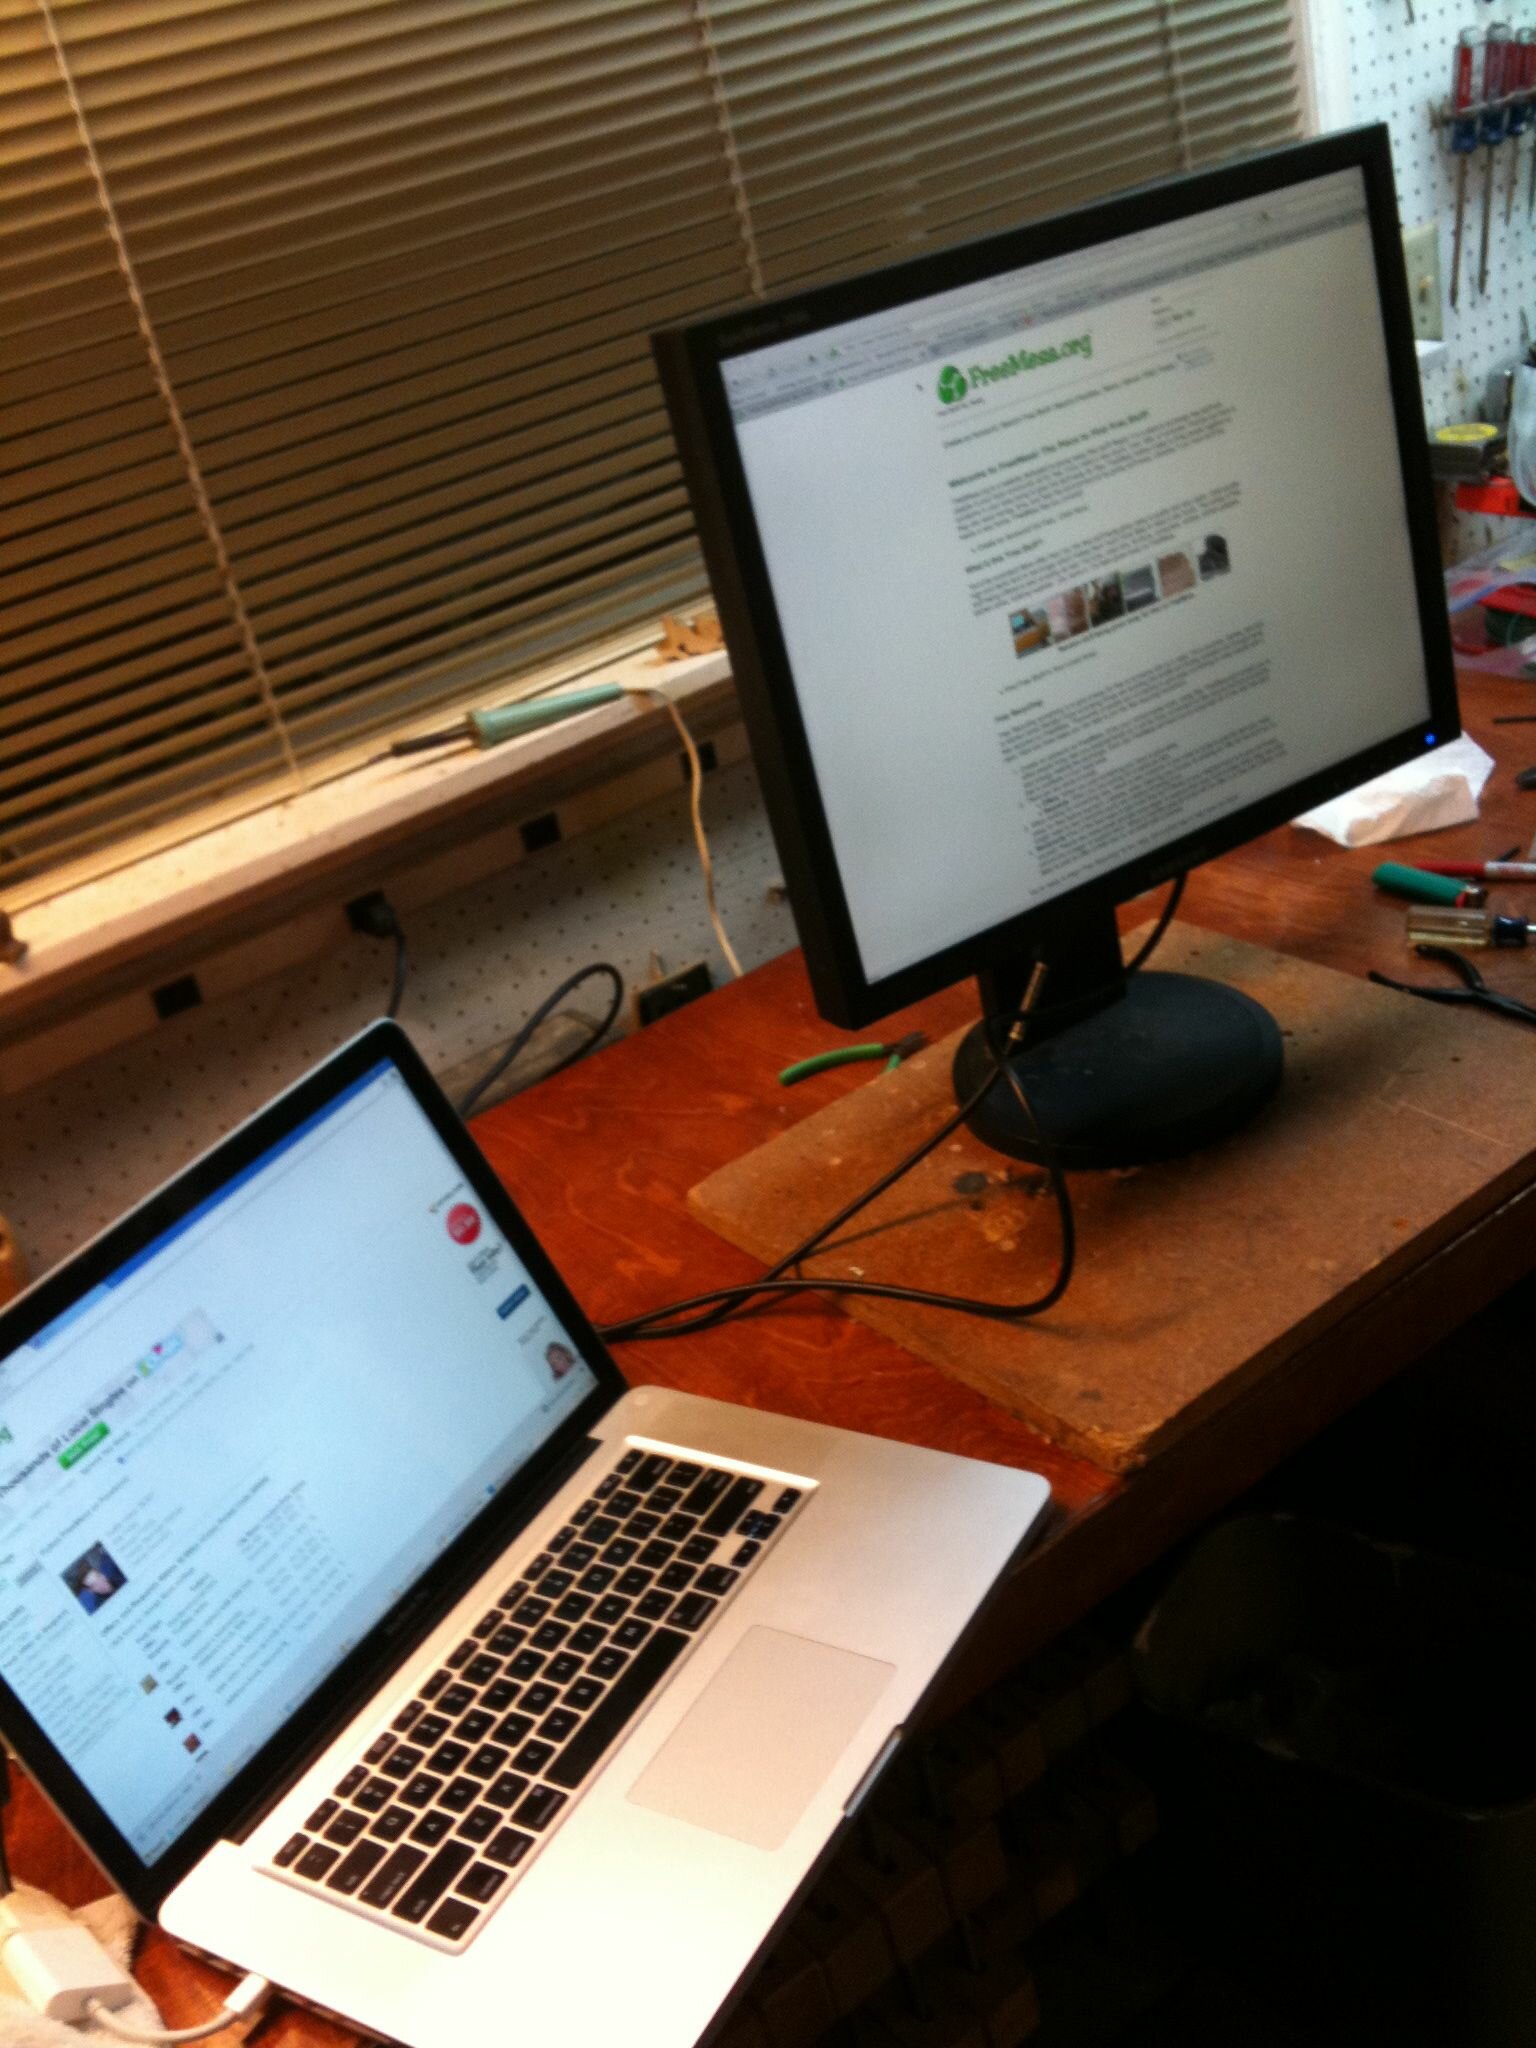
The fixed monitor working like new. Total cost - $3.50
|
|
I hope this helps some of you in case you ever face a similar situation.
Till next time!
Cheers!
-Brian
|
|